
How to Paint Roses in Watercolor: Where the Glow Begins
How do you make a painted rose seem to glow? For me, the answer begins long before the darkest details. It starts with looking carefully at the light and letting the first transparent wash shine through the layers that follow.
When I paint a rose in watercolor, I rarely reach for just one pink. I look at the warm color near a petal’s base, the cooler turn of a fold and the shadow where one petal overlaps another. The flower takes shape through these small decisions.
How to Paint Roses with Light and Depth
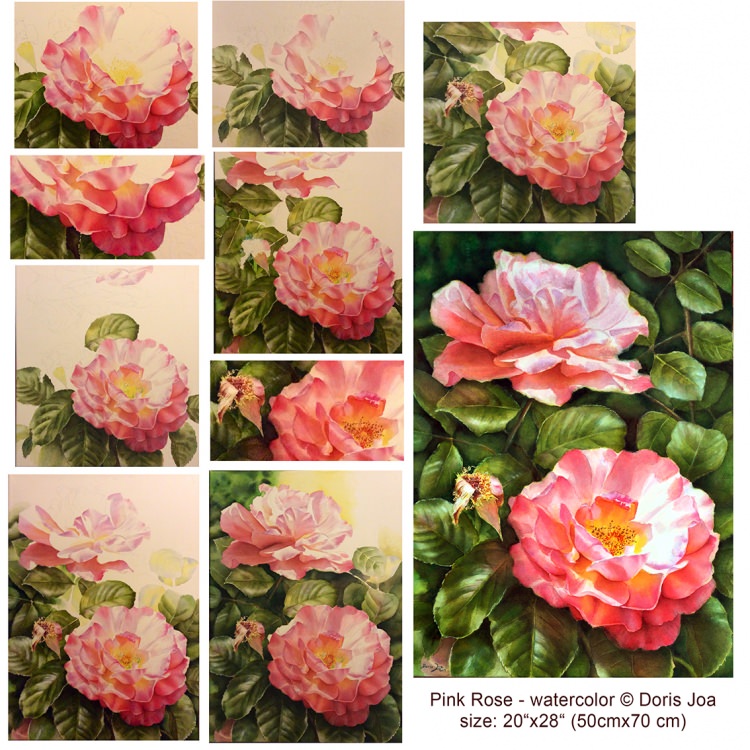
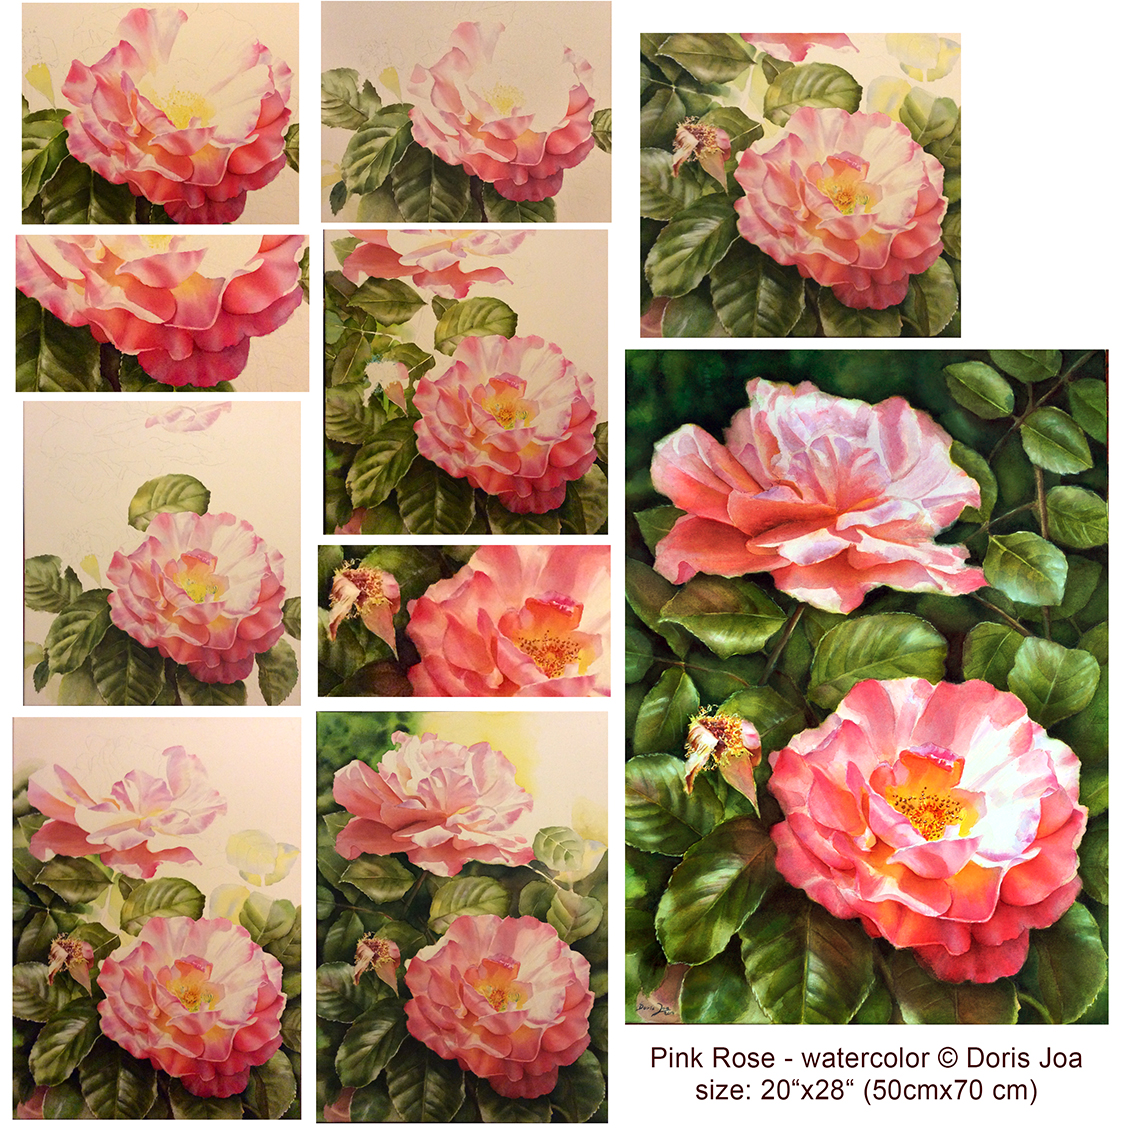
In this pink rose study, I began with a yellow underwash in selected areas. After it had dried, I built the pinks with Permanent Rose. Anthraquinoid Red warmed and deepened certain passages; Cobalt Blue and Purple Magenta brought cooler notes into the shadows. A touch of Sap Green in the red mixture helped deepen some of the darkest places.
I work in thin layers and treat each petal as its own shape. Keeping the brightest paper free of paint, while giving the overlapping petals deeper color, helps the rose feel three dimensional. Even a white rose has colored shadows, and a dark background can make its pale petals sing.
See the Rose Painting Process
I have gathered more of my original painting images and practical notes into a free guide. You can see how I use warm and cool color, transparent underwashes and varied edges in several different rose paintings, including a white rose and a magenta study.
Explore the free How to Paint Roses lesson
If you would like to paint along with me in more detail, you can also explore the Glowing Rose video lesson. I hope the free guide inspires you to pick up a brush and look at the next rose with fresh eyes.