
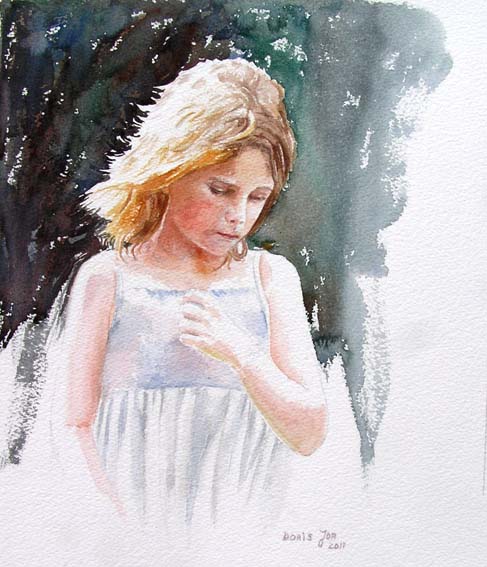
Watercolor Painting Techniques: Wet-on-Wet, Wet-on-Dry, Dry-on-Dry
A free watercolor lesson
Let the water guide you
The amount of water on your paper and in your brush changes everything: how a colour moves, where it stops, and whether an edge stays soft or becomes crisp.
I return to three simple approaches in my paintings: wet-on-wet, wet-on-dry and dry-on-dry. Once you know what each one does, you can choose it for the passage in front of you instead of following a rigid recipe.
01 / Movement
Wet-on-wet
First wet the area with clean water, then touch in your colour. The pigment follows the moisture. Where the paper is dry, the wash stops; where it is damp, the colour can spread and mingle.
Use this when you want a gentle transition in a petal or an atmospheric wash. Watch the sheen on the paper. If it is flooded, the pigment may travel further than you intended. If it is already drying, you may get a harder edge instead of a soft one.
02 / Control
Wet-on-dry
Apply a loaded, damp brush to dry paper. This gives you a clear shape and a distinct edge. I use it often when I need to describe a particular petal, leaf or shadow.
A hard edge does not have to stay hard. While the wash is still moist, I touch the edge with a clean, slightly damp brush and soften it where I want the form to turn away. You can also place two colours next to one another and allow them to meet while both are wet.
03 / Detail
Dry-on-dry
Here the paper is dry and the brush carries only a small amount of moisture. There is still enough water to pick up paint, but much less than in a flowing wash.
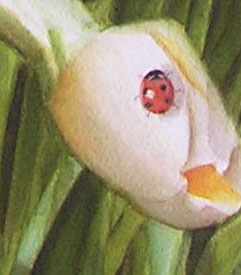
I use this approach when a painting needs a fine accent or a suggestion of texture. The tiny markings on the ladybug in my painting below are one example. A few well-placed details often say more than working over every part of the painting.
Try it on a spare sheet
One small exercise, three different edges
- Wet one area generously and drop in colour. Notice how far the pigment travels.
- Wet a second area more lightly and repeat. Let both areas dry before comparing the edges and colour.
- Paint a shape on dry paper. Soften one edge while it is moist, then add a small dry-brush detail after everything has dried.
Watercolour usually looks lighter once it dries. Comparing the dry results teaches you more than judging the washes while they are still shining.
A closer look
Look closely at the edges
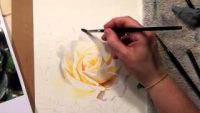
I do not decide that an entire painting must be wet-on-wet or wet-on-dry. In my rose videos I often begin a passage on dry paper and immediately soften selected edges with a damp brush; elsewhere I wet an area first. Over time these decisions become intuitive.
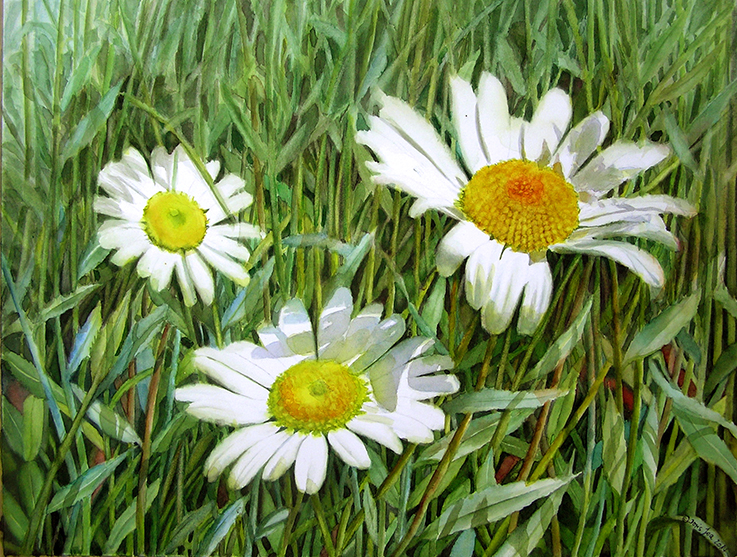
Paper changes how a wash behaves, too. Cold-pressed and hot-pressed papers, heavier sheets and boards all respond differently. I enjoy learning what each surface will allow. If you are curious about the papers and boards I use, you can read my watercolor surfaces guide.
Some paintings come together in a few hours; others ask for layers, lifting or a different start. What matters most to me is seeing what the painting needs, keeping the process enjoyable and finding my own way of describing it. The more we paint, the less we have to think about the names of the techniques.
Keep painting with me
Bring these techniques into a complete flower painting
In my Complete Flower Series masterclass, we work through hydrangea, rhododendron, daisy and rose studies, building petals, leaves and atmosphere step by step.

Your instructions were so helpful. I am trying to teach myself watercolor painting. Thank you for sharing, advice and inspiration. Fondly ,Kate